
Are you struggling to capture screenshots on your Chromebook? Don’t worry, we’ve got you covered! In this step-by-step guide, we will teach you how to master the art of screenshotting on your Chromebook, making it a breeze to capture and share images.
With the growing popularity of Chromebooks, knowing how to take screenshots is essential. Whether you’re a student, professional, or just a regular user, being able to capture your screen can be useful in a variety of situations.
In this article, we will walk you through the entire process, from understanding the different methods of screenshotting on your Chromebook to exploring various techniques for capturing specific areas of your screen. We’ll also share tips and tricks to enhance your screenshotting experience.
No matter your level of expertise with Chromebooks, this comprehensive guide is perfect for beginners and advanced users alike. So, grab your Chromebook and get ready to become a screenshotting pro!
With our easy-to-follow instructions, you’ll be able to capture screenshots on your Chromebook effortlessly and share your screen captures in no time. Get ready to take your screenshotting skills to the next level!
Why screenshotting is important
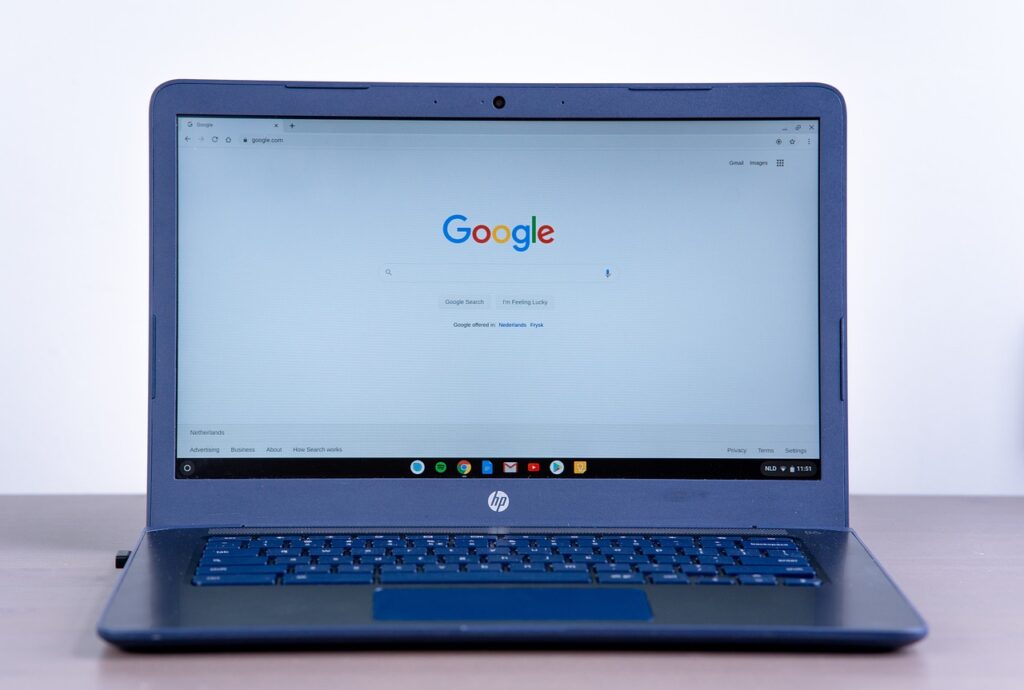
Screenshotting is an essential skill in today’s digital age, and it’s especially important for Chromebook users. Capturing screenshots on your Chromebook can be incredibly useful in a variety of scenarios. Whether you need to share an image with a colleague, save a reference for later, or document a technical issue, the ability to take screenshots can make your life much easier.
Screenshots allow you to capture and preserve specific moments on your screen, making them invaluable for tasks such as creating tutorials, providing visual evidence, or simply sharing information with others. In the context of a Chromebook, where the operating system and many applications are web-based, the need for efficient screenshotting becomes even more pronounced. Chromebooks are often used in educational and professional settings, where the ability to capture and share screenshots can greatly enhance collaboration, productivity, and documentation.
Moreover, as Chromebooks continue to gain popularity, the demand for reliable and user-friendly screenshotting methods has grown. This guide aims to equip you with the knowledge and skills to master the art of screenshotting on your Chromebook, empowering you to streamline your workflows, enhance your productivity, and effectively communicate your ideas and insights.
Different methods of taking screenshots on Chromebook
Taking screenshots on a Chromebook can be accomplished through various methods, each with its own advantages and use cases. Understanding these different approaches will allow you to choose the most appropriate technique for your specific needs.
One of the most common ways to take a screenshot on a Chromebook is by using keyboard shortcuts. Chromebooks often have dedicated keys or key combinations that allow you to capture the entire screen or a specific region. These shortcuts are quick, efficient, and can be easily memorized, making them a go-to option for many Chromebook users.
Another method is to utilize the Chromebook’s built-in screenshot tool, which is accessible through the Quick Settings menu or the App Launcher. This tool offers more advanced features, such as the ability to capture a specific region of the screen, annotate the screenshot, and even delay the capture to allow for additional setup or interaction.
Using keyboard shortcuts for screenshotting

Keyboard shortcuts are a fast and convenient way to take screenshots on your Chromebook. By memorizing the relevant key combinations, you can quickly capture your screen without interrupting your workflow.
The primary keyboard shortcut for taking a full-screen screenshot on a Chromebook is Ctrl + Show Windows (or F5). This combination will capture the entire visible area of your screen and save the image to your Chromebook’s Downloads folder.
If you need to capture a specific region of the screen, you can use the Ctrl + Shift + Show Windows (or F5) shortcut. This will allow you to select the desired area by dragging a rectangular selection box. Once you release the mouse or trackpad, the screenshot will be saved to your Downloads folder.
Using the Chromebook’s built-in screenshot tool
In addition to keyboard shortcuts, Chromebooks also offer a built-in screenshot tool that provides more advanced features and options. To access this tool, you can either click on the Quick Settings menu in the bottom-right corner of your screen and select the “Screenshot” option, or you can open the App Launcher and search for the “Screen Capture” app.
The Chromebook’s built-in screenshot tool allows you to capture the entire screen, a specific region, or even a selected window. It also provides options to annotate the screenshot with text, shapes, and drawings, as well as the ability to delay the capture to set up the desired scene.
One of the key advantages of using the built-in screenshot tool is the ability to preview the captured image before saving it. This can be particularly useful when you want to ensure that the screenshot includes the desired content or that the annotations are properly placed.
Editing and annotating screenshots on Chromebook

Once you’ve captured a screenshot on your Chromebook, you may want to edit or annotate the image to highlight specific details, add context, or enhance its visual appeal. Fortunately, Chromebooks offer built-in tools and third-party applications that make it easy to customize your screenshots.
The Chromebook’s built-in screenshot tool, as mentioned earlier, includes basic editing and annotation capabilities. You can use the tool to add text, draw shapes, and highlight specific areas of the screenshot. This can be particularly useful when you need to create instructional guides, provide visual feedback, or emphasize important information.
For more advanced editing and annotation needs, you can explore third-party applications available in the Chrome Web Store. These apps often provide a wider range of tools, such as the ability to crop, resize, and apply filters to your screenshots. Some popular options include Snapseed, Pixlr, and Polarr, all of which can be easily installed and used on your Chromebook.
Organizing and managing your screenshots
As you start taking more and more screenshots on your Chromebook, it’s essential to have a system in place for organizing and managing your captured images. Chromebooks provide several built-in features and options to help you keep your screenshots well-organized and easily accessible.
By default, screenshots taken on a Chromebook are automatically saved to the “Downloads” folder. This makes it easy to locate and access your captured images. However, you can also create custom folders or subfolders within the Downloads directory to further organize your screenshots based on specific projects, topics, or purposes.
Additionally, Chromebooks offer integration with Google Drive, allowing you to seamlessly sync and backup your screenshots to the cloud. This not only ensures the safety and preservation of your captured images but also makes them accessible from any device with a Google account.
Troubleshooting common screenshotting issues on Chromebook

While taking screenshots on a Chromebook is generally a straightforward process, you may encounter occasional issues or challenges. Understanding how to troubleshoot these problems can help you maintain a smooth and efficient screenshotting experience.
One common issue that Chromebook users may face is the inability to capture a specific area of the screen or a particular window. This can be due to a variety of reasons, such as software conflicts, hardware limitations, or even browser-specific quirks. In such cases, try using alternative methods, such as the built-in screenshot tool or third-party applications, to see if they provide better results.
Another potential problem is the inability to locate or access the captured screenshots. Ensure that you’re familiar with the default save location (Downloads folder) and that you have the necessary permissions to access and manage the files. If you’re using cloud storage like Google Drive, make sure that the sync is working correctly and that your screenshots are being uploaded as expected.
Tips and tricks for efficient screenshotting on Chromebook
To help you become a true screenshotting pro on your Chromebook, we’ve compiled a list of useful tips and tricks that can enhance your productivity and efficiency:
- Memorize the keyboard shortcuts: Familiarize yourself with the primary keyboard shortcuts for taking screenshots (Ctrl + Show Windows and Ctrl + Shift + Show Windows) and use them regularly to streamline your workflow.
- Utilize the built-in screenshot tool: Explore the features and options available in the Chromebook’s built-in screenshot tool, such as the ability to capture specific regions, annotate the images, and delay the capture.
- Customize your screenshot file names: Consider renaming your screenshot files with descriptive names to make them easier to identify and organize. You can do this directly within the Downloads folder or using a third-party file management app.
- Integrate with cloud storage: Leverage the integration between your Chromebook and cloud storage services like Google Drive to automatically sync and backup your screenshots. This ensures your captured images are always accessible and secure.
- Experiment with third-party apps: Explore the Chrome Web Store for additional screenshot-related apps and extensions that can further enhance your screenshotting capabilities, such as advanced editing tools or screenshot sharing features.
Conclusion: Become a screenshotting pro on Chromebook
In this comprehensive guide, we’ve explored the various aspects of mastering the art of screenshotting on your Chromebook. From understanding the importance of this essential skill to delving into the different methods and techniques, you now have the knowledge and tools to become a true screenshotting pro.
Whether you’re a student, a professional, or simply a regular Chromebook user, the ability to capture and manage screenshots can greatly enhance your productivity, communication, and overall digital experience. By following the step-by-step instructions and implementing the tips and tricks outlined in this article, you’ll be able to streamline your workflow, create informative visual aids, and share your screen captures with ease.
Remember, practice makes perfect, so don’t be afraid to experiment with the different screenshotting methods and explore the various features and options available on your Chromebook. With time and dedication, you’ll become a master of the screenshot, empowering you to tackle a wide range of tasks and scenarios with confidence and efficiency.

